Translate

Saturday, March 29, 2014

Dark Chocolate Lemon Truffles (made with chocolate chips)


Typically I do not make truffles with chocolate chips. I actually do not think I have ever made any truffles with chocolate chips, unless you count the chocolate chip cookie dough truffles, where the filling has mini chocolate chips. Well, I don't have the time to be a chocolate snob anymore (or the money), so I'm glad these turned out so amazingly delicious.  I had been wanting to make these truffles for awhile. I chose to make them last night as a distraction because my due date came and went, but still no baby. Usually I make these lemon truffles with Scharrfen Berger bittersweet chocolate. I thought I had some in my baking cabinet, so when I set out to make them, I realized I actually had an unsweetened chocolate baking bar with 99% chocolate - not ideal for truffles (but it did work well as a topping). I had half a bag of semisweet Ghiradelli chocolate chips in the cabinet, and I thought, hey, I'll give these a try. They worked perfectly! It was so nice to eliminate the step of finely chopping the chocolate for the truffles because I usually use the big baking bars. These truffles have the perfect balance of rich chocolate and zesty lemon. I rolled and coated them this morning and started the day with 18 of them - now there is only 1 left in the fridge (shared between 5 people - I did not eat them ALL)!  I have a feeling I'll be pregnant until mid-April. But I'm on my maternity leave, so I'll just stay home to make and eat truffles all day long. Yum! I hope you love these truffles as much as I do. They are delicious and easy to make. An added bonus of eating a dark chocolate lemon truffle over other treats is that one truffle only has about 55 calories. So if you eat three for breakfast, you still are having an under 200 calorie  breakfast (not that I know anyone who would ever do something like that...)! Enjoy!

Recipe for Dark Chocolate Lemon Truffles (made with chocolate chips)

INGREDIENTS:
8 Tbsp. of heavy whipping cream
1 1/4 tsp. of lemon zest
5 ounces of Ghiradelli semisweet premium baking chips
2 tsp. of freshly squeezed lemon juice
Cocoa powder
1/2 ounce of bittersweet or unsweetened baking chocolate, grated with a box grater (optional)
Cacao nibs (optional)
Extra chocolate chips, for topping

DIRECTIONS:
Put the heavy cream and the lemon zest into a small saucepan and set over medium heat. Once it simmers, remove from heat and pour in the chocolate chips. Cover the saucepan for 5 minutes. After 5 minutes, gently stir the mixture until it is completely smooth. Gently stir in the lemon juice. Cover the saucepan (make sure to wipe the lid of any moisture before covering) and set in the fridge for several hours or overnight.

Put the cocoa powder into a shallow bowl. Lightly dust your hands with the powder. Scoop up some of the mixture and then use your hands to roll into 3/4-inch balls. Dust with more cocoa if desired. Continue until the mixture is gone. Then roll each ball into the grated chocolate, cacao nibs, or a combination of both. You might need to use your fingers to gently press down the grated chocolate/cacao nibs onto the truffles. Top each truffle with a chocolate chip. Put truffles into the fridge until you are ready to serve.

Recipe makes approximately 16 - 20 truffles. About 55 calories per truffle. 

Recipe inspired by various cookbooks in my home and sources on the web. 

Monday, March 24, 2014

Quick and Easy Meals Roundup

Creamy Lemon and Thyme Pasta is a really quick and easy meal! You can serve it with or without greens - I used kale. 
I have a confession to make. This post is really more for me than it is for you. I know, I'm selfish. I have been feeling more and more tired these days and therefore much less motivated to cook, as I anxiously await the arrival of baby Wendy. She is due to be here by this Friday, but it seems like she is pretty comfortable where she is and she just might be waiting for the warmer weather before she decides to come! As of now, there are no signs of her showing up on Friday, unless you count being extremely huge, tired, and uncomfortable as signs!  I thought that having a compilation of quick and easy meals would help to encourage me to cook because I know that they require little preparation and cook time, and they seem to be healthier than pre-made meals from the grocery store. Pasta meals pretty much dominate the quick and easy meal list - I have definitely been craving carbs all throughout my pregnancy.

If you are super tired these days or you find yourself pressed for time in the evenings, this post is for you, too! Enjoy.

Quick and Easy Meals Roundup 


Eggplant Parmesan (Romano) Burgers
Tortellini Soup with Sun Dried Tomato, Artichokes, and Chickpeas
Creamy Lemon and Thyme Pasta 
Super Easy Pad Thai (no meat)
Penne Pasta with Arugula Pesto, Chicken Sausages and Goat Cheese
Crustless Quiche with Quinoa, Kale and Peppers
Savory Kale and White Bean Soup
Spicy Bean Burritos 
Quinoa, Corn and Black Bean Wraps
White Chicken Chili Soup 
Pasta with Red Grapes and Sausage 
Easy Chicken Risotto with Caramelized Onions

So, there you have it. The easiest meal on this list would definitely be the tortellini soup. It seriously takes less than 15 minutes from start to finish. The creamy lemon and thyme pasta only requires one pot, so that's nice for clean up! I hope you find these meals to be as convenient and as delicious as I do.

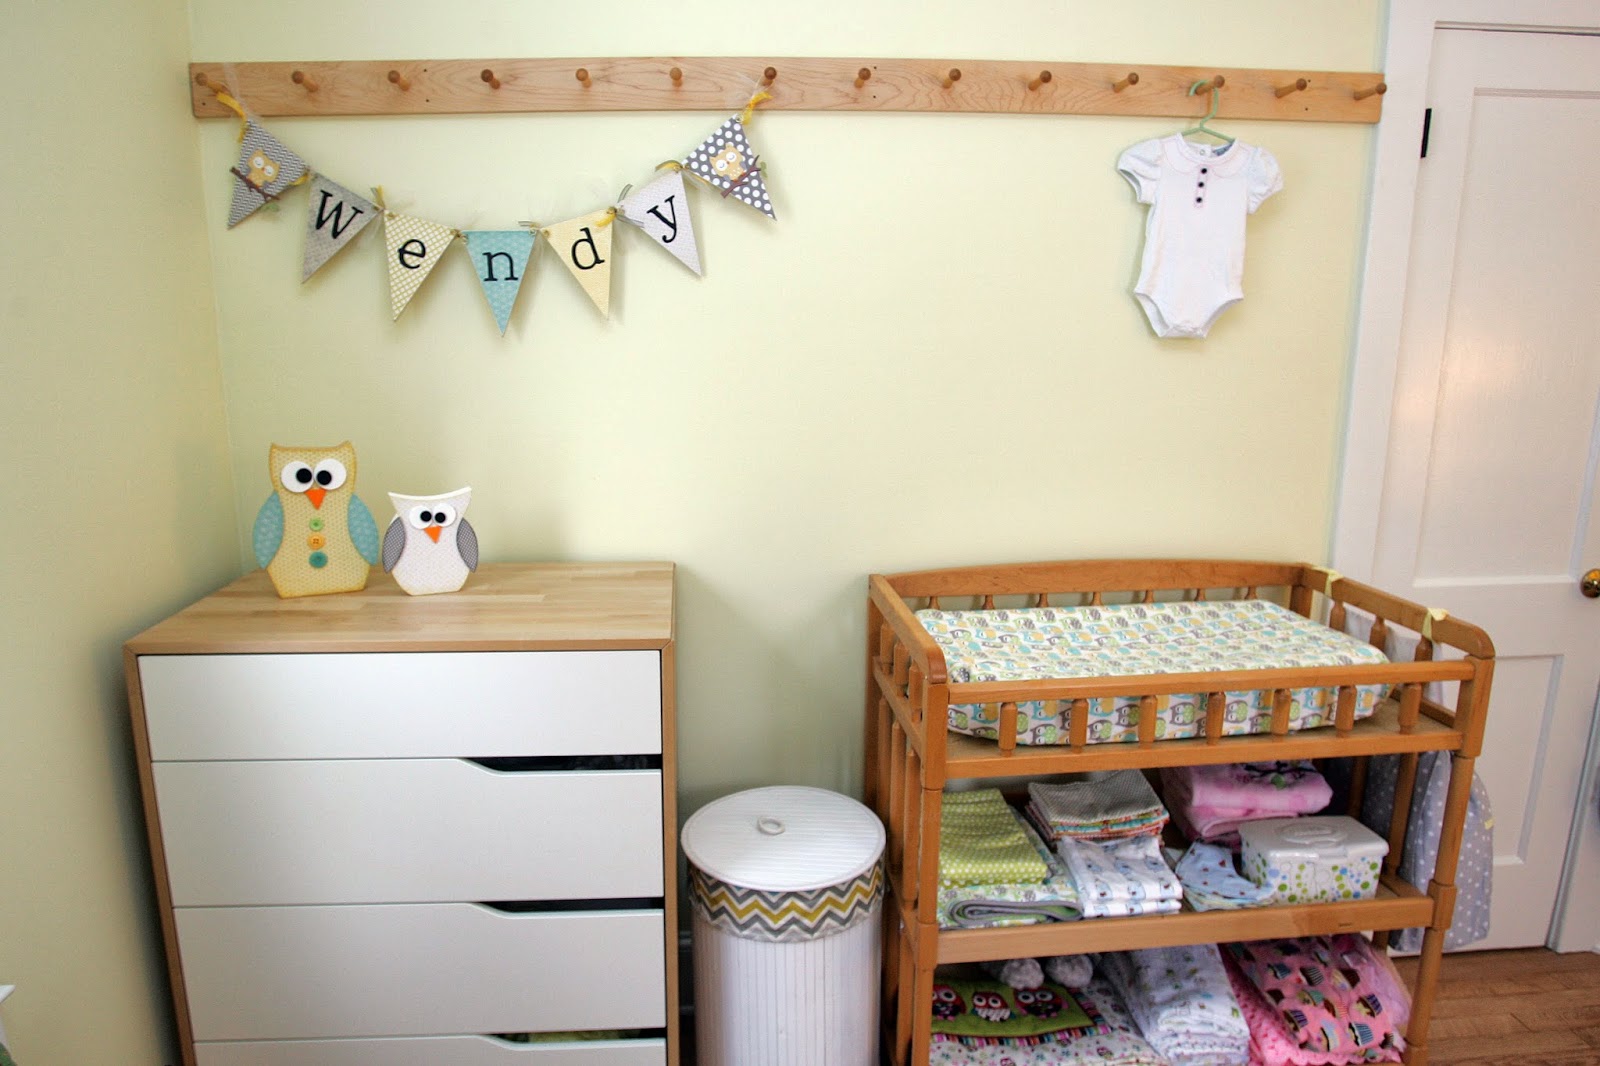
Just for fun I'd like to share a couple pictures of Wendy's nursery . My parents and husband have been doing major home renovations in the last several months and they are turning out to be amazing. I was pretty scared about a month ago that things would never get finished before Wendy was born. I am super impressed with the way things have turned out and wanted to share!


Monday, March 17, 2014

Easy Vanilla Buttercream Frosting (using marshmallow creme)

Greg and I were invited to dinner at a friend's house a few weeks back, but everyone had to keep rescheduling because of adults or kids not feeling well! I had been asked to bring a dessert. The first time we planned to go over there I made the salted caramel brownies the day before, but then we had to reschedule. I couldn't eat all the brownies myself so I still dropped some off for the family. When I asked my friend how she liked the brownies she said she is allergic to chocolate (poor girl), but that her kids and husband thoroughly enjoyed them. So, after finding that out, I decided to go with a non-chocolate dessert when we went over there Saturday night. I also chose to do an easier dessert since I'm more and more tired these days. I thought that the kids and adults would all love funfetti cupcakes with a vanilla buttercream frosting (I was right). The cupcakes were simple, since they came from a box, and then I made the easy and delicious frosting!  I have made chocolate buttercream frosting with marshmallow creme before and this was my first time making vanilla buttercream frosting with it. I think the frosting is amazing! It has such a smooth consistency and I wish I would have had some frosting leftover because I would have totally eaten it for breakfast the next morning! I sprinkled the frosting with mini shamrock sprinkles and gold sanding sugar in the spirit of St. Patrick's Day. Enjoy!

*I call this easy buttercream frosting because traditional buttercream calls for using egg whites and heat and lots of time. The marshmallow creme is the trick in making this recipe so easy!

Recipe for Easy Vanilla Buttercream Frosting (using marshmallow creme)
INGREDIENTS:
2 sticks of unsalted butter, softened at room temperature
1 7 ounce jar of marshmallow creme
3/4 tsp. of pure vanilla extract
1 1/2 cups of powdered (confectioners) sugar

DIRECTIONS:
Put the butter into a medium bowl. Use an electric hand mixer set on medium speed to beat butter until it is smooth and creamy. Add in the marshmallow cream and beat again on medium speed until well incorporated (about 2 minutes). Stir in the vanilla extract. Add in the powdered sugar, about 1/4 cup at a time, and beat after each addition until well incorporated. Continue adding in the powdered sugar and beating until it is at your desired consistency, and add more as needed. Use to frost cupcakes - or eat with a spoon!

Saturday, March 15, 2014

Cheesy Spinach Soup with Potato (a fun soup for St. Patrick's Day)!

I was actually surprised at how tasty this soup was. I mean, I guess I shouldn't have been too surprised, because it came from a food blog that I love. But how could something so healthy and green be so yummy? Well, it's probably the cheese!

I think this soup is a fun and festive meal or side for St. Patrick's Day. You can call it Luck of the Irish Soup! It also is a good idea for Halloween, when it can be Witches Brew Soup or Spooky Green Soup. But, you don't have to eat this soup only two times out of the year, you can eat it any time. It's super healthy, easy to make, and delicious. Serve the cheesy spinach soup with some grilled cheese sandwiches, if you want to make it a heartier meal. I used the leftover swiss cheese for the grilled cheese sandwiches and they tasted great. I also included a recipe below for grilled cheese because I seriously had to look up on the Internet how to make grilled cheese sandwiches. So, if you are like me, you might benefit from having the recipe!

Enjoy & have a happy (and safe) St. Patrick's Day. Here in Annapolis we are getting ready for a shamrock snowstorm, even though it's 60 degrees today. I am hoping that Spring will come soon and stick around for good!

Recipe for Cheesy Spinach Soup with Potato (a fun soup for St. Patrick's Day)!

INGREDIENTS:
3 Tbsp. of unsalted butter
1 medium to large yellow onion, chopped coarsely
2 cloves of garlic, chopped coarsely
A dash or two of salt
Several grinds of freshly ground black pepper
A pinch or two of ground nutmeg
1 large russet potato, peeled and cut into about 1 inch cubes
4 cups of chicken broth (or vegetable broth, if you want to make it vegetarian)
9 ounces of baby spinach leaves (I used the the pre-rinsed/packaged kind)
1/4 cup of fresh parsley leaves
4 ounces of Swiss cheese, grated
1/4 cup of heavy whipping cream
Sour cream or greek yogurt, for topping (optional)

DIRECTIONS:
Put the butter into a large pot and melt over medium heat. Add in the onions and cook until they are tender, about 4 - 5 minutes. Add in the chopped garlic, potato, salt, pepper, and nutmeg. Cook until the garlic is fragrant, about 1 minute. Stir in the chicken broth and bring the broth to a boil. Then adjust heat to medium low so the soup simmers, and cover the pot. Cook for 10 - 15 minutes or until the potatoes are tender when poked with a fork.

Pour in the baby spinach leaves and parsley. Stir so the spinach leaves are covered by the broth. Cover the pot and cook until the spinach leaves are wilted, about 2 minutes. Then turn off the heat and remove pot from heat. Carefully puree the soup with an immersion blender until the soup is smooth and creamy. Return the soup to the stovetop and put the heat on low. Stir in the Swiss cheese and stir until the cheese is fully melted. Stir in the heavy cream. Taste soup, add extra salt, pepper, and/or nutmeg if desired. Serve soup and garnish each bowl with sour cream or greek yogurt and parsley leaves, if using.

Recipe Makes 4 - 6 servings.
Recipe Adapted from: Annie's Eats

I know this might seem silly, but I actually had to Google how to make grilled cheese sandwiches! I mean, I knew the basic concept, but I still needed that extra support. So here is a recipe for grilled cheese sandwiches that you can eat with the soup, and you can use the leftover Swiss cheese for the sandwiches.

Recipe for Grilled Swiss Cheese Sandwiches (makes one sandwich)

INGREDIENTS:
2 pieces of white sandwich bread
2 Tbsp. unsalted butter, slightly softened so it spreads well
Slices of Swiss cheese
A very small pinch of ground nutmeg (optional)

DIRECTIONS:
Put a large saute pan on the stovetop and turn heat on medium high. While pan is heating, butter both sides of the two pieces of bread (making sure to leave 1/2 Tbsp. leftover for the pan). Once pan is hot, add the remaining 1/2 Tbsp. of butter to the pan. Once butter it is melted and slightly sizzling, put one piece of bread in the pan and top with slices of cheese. Sprinkle on the nutmeg if using.  Put the other piece of bread on top. Cook for a couple minutes and then flip (the bottom side should be light brown and toasty). Cook for about another minute and then transfer to a plate. Eat it while it's hot!
*If you make additional sandwiches, make sure to put additional butter in the pan before you make each one.